Widget Node
The Widget Node renders another template (a "widget template") as an embedded sub-template inside the current template. This is the primary mechanism for building reusable components — headers, footers, sidebars, and any other layout piece that is shared across multiple pages.
A widget template is a normal template in wp-next Editor. The Widget Node references it by slug and renders its full Lexical node tree inline.
Setting Up a Widget
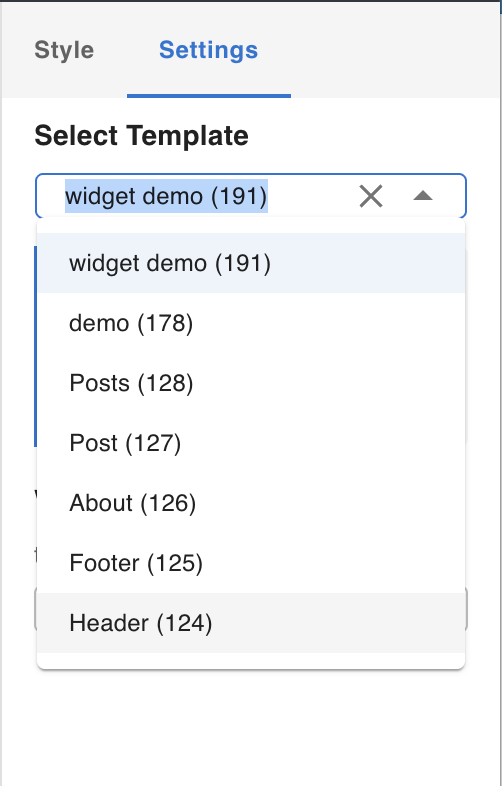
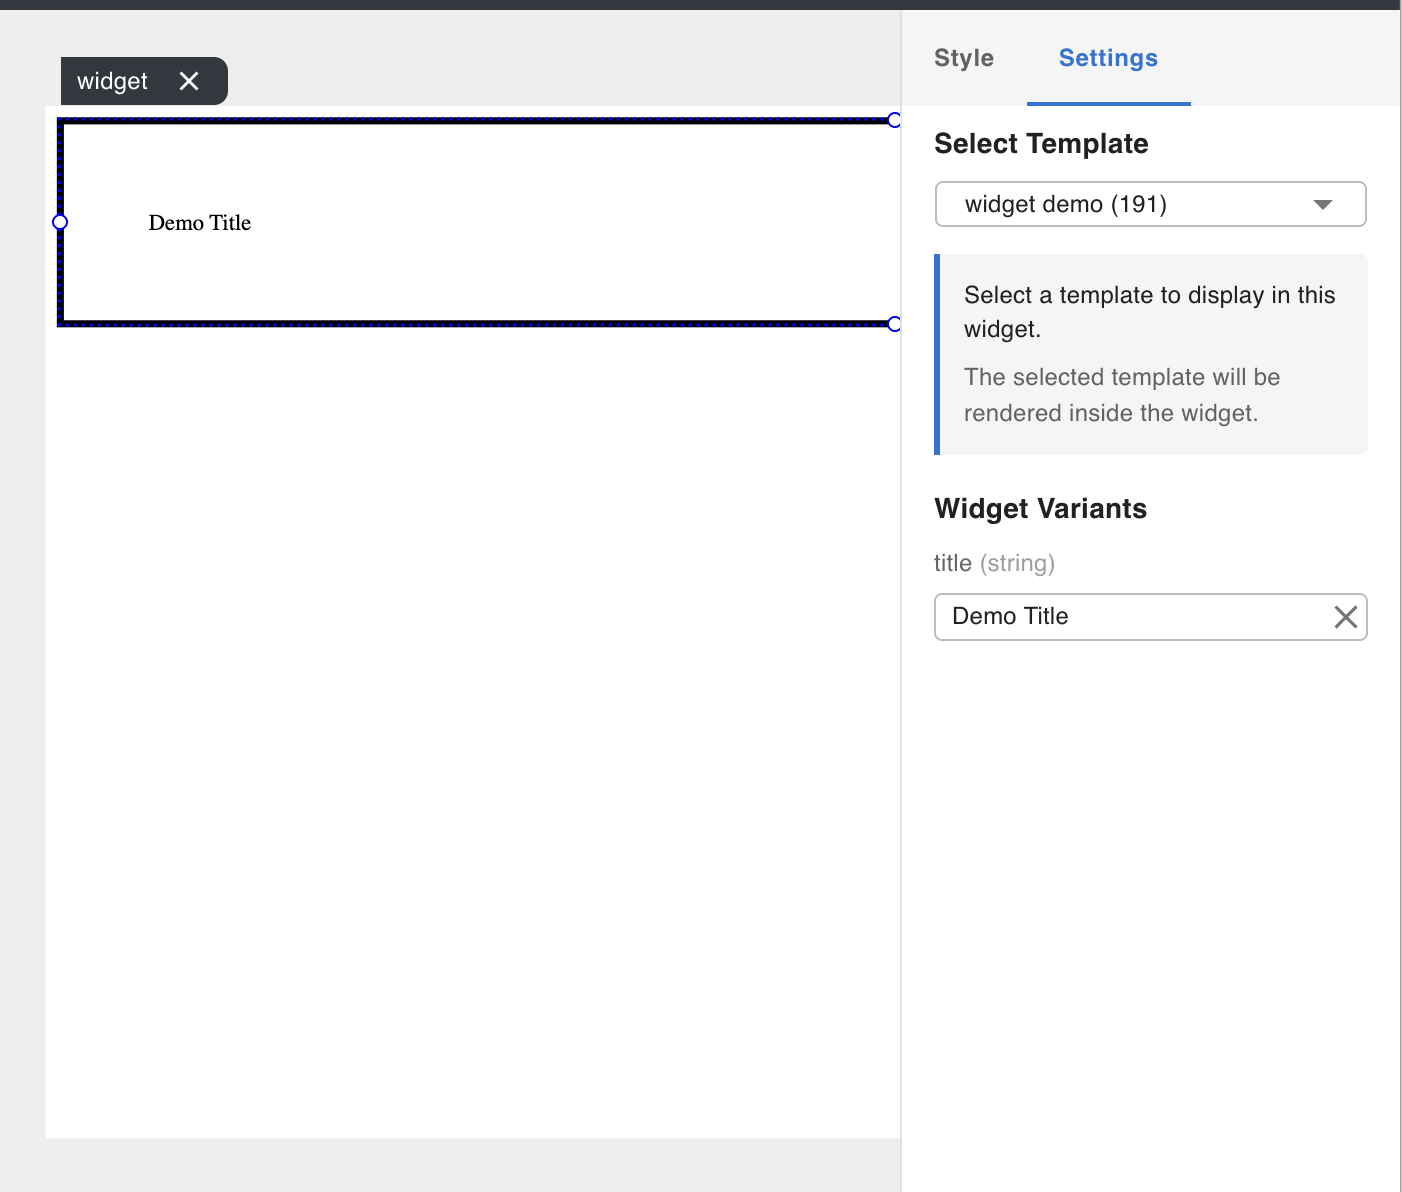
Add a Widget Node from the Elements tab in the Left Nav, just like any other node. Once it is on the canvas, open the Settings tab in the Right Form Panel and select the template you want to embed.
Widget Only Mode
A template can be marked as Widget Only in its template settings. Widget Only templates are not accessible via a public URL (e.g. https://[domain]/[slug]) — they are only renderable as a widget embedded inside another template. This is the correct setting for shared layout components like headers and footers that should never be visited as standalone pages.
Variants
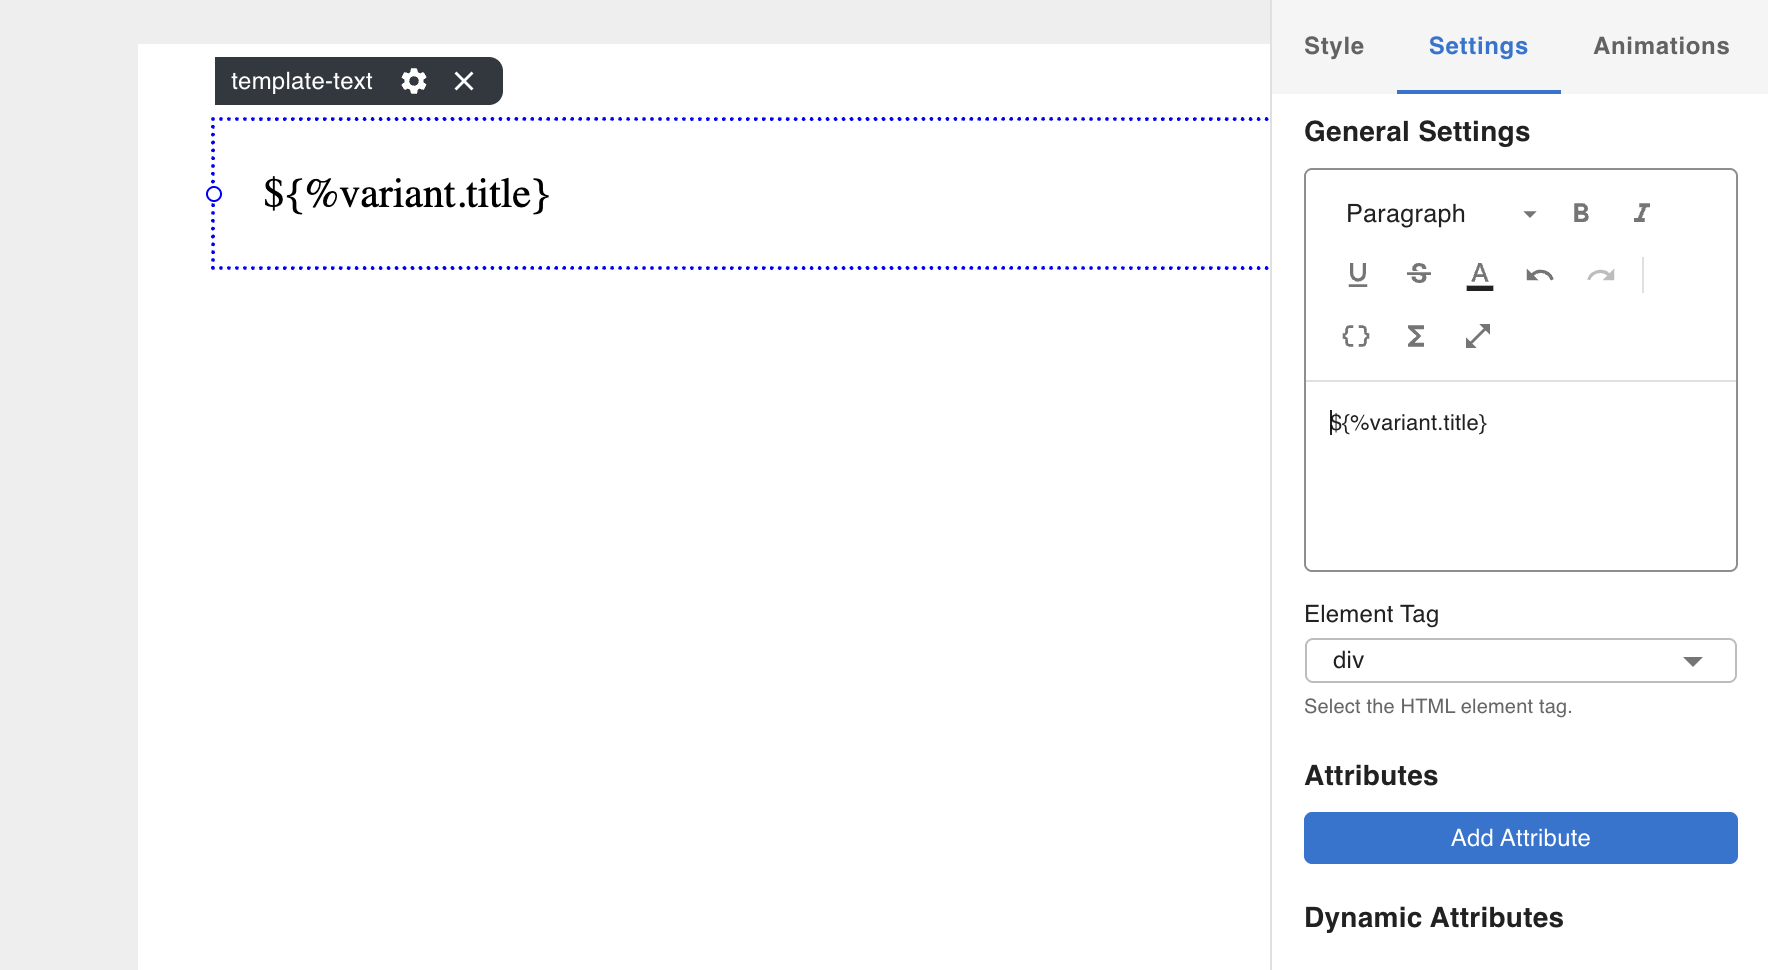
Variants let a parent template pass named values into a widget template — similar to props in a component system. Inside the widget template, variants appear in the ${} dropdown as %variable.<name> and behave like dynamic data.
Step 1 — Define variants in the widget template
-
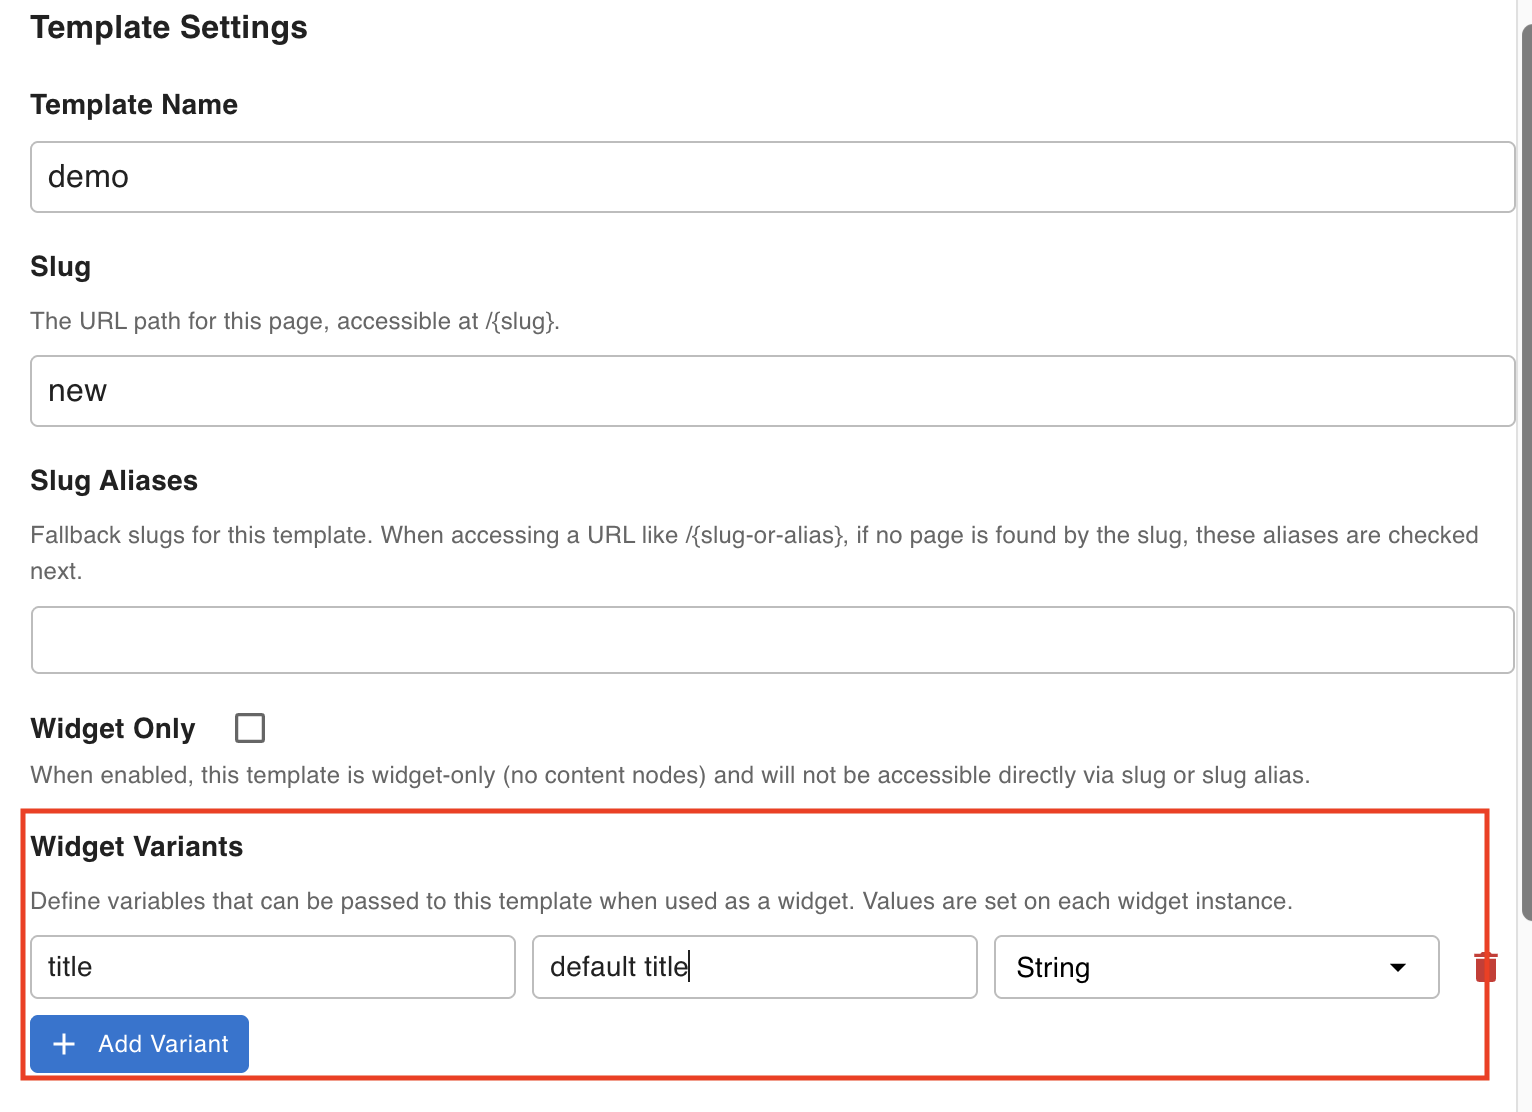
Open the widget template and click the settings icon in the Footer Toolbar to open Template Settings.
-
In the Widget Variant section, click Add Variant.
-
Enter a name, optional default value, and data type (String, Number, or Boolean).
-
Select a Template Text Node in the widget template, open its text editor, and click the
{ }icon. The variant you added appears in the dropdown as%variable.<name>.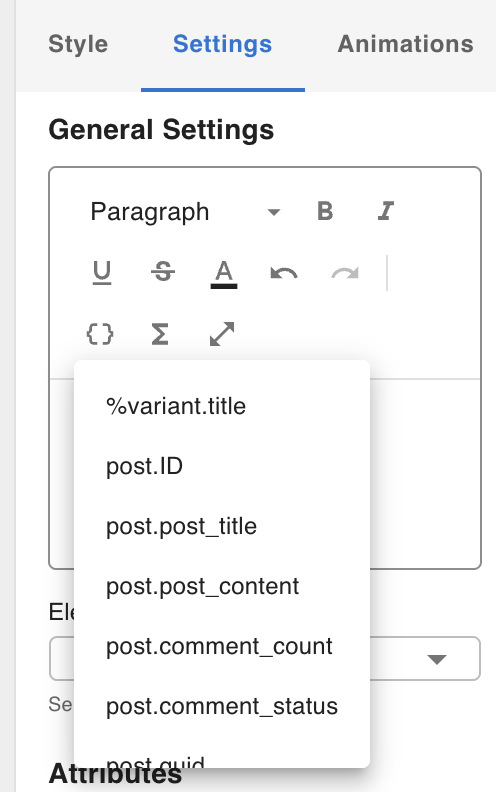
-
Publish the widget template.
Step 2 — Provide variant values from the parent template
-
Open the parent template and add a Widget Node pointing to the widget you just edited.
-
Open the Settings tab in the Right Form Panel. An input field appears for each variant defined in the widget template.
-
Enter the value you want the widget to display for that variant.
Dynamic Data Flow
When a Widget Node renders, dynamic data flows down from the parent template's cache into the widget's nested editor. This means widgets have access to the same fetched data as the parent template without re-fetching.
The flow, verified from source (WidgetNode.tsx → processWidget):
- URL query parameters are parsed — the page URL is read and stored in the parent editor's URL query cache.
- Parent template runs Data Fetching Nodes — each node fetches from the WP database and stores its result in the parent editor's cache.
- Widget Node reads the entire parent cache (
$getAllCacheData) and restores it into the widget's nested editor, along with the URL query cache ($getAllURLQueryCache). - Widget editor processes its own nodes — for each Data Fetching Node in the widget template:
- If the data key already exists in the restored cache → the cached value is used, no re-fetch.
- If the data key is not cached →
fetch()is called and the result is stored in the widget's cache.
- Nested widgets (if any) inherit the widget editor's cache and repeat this process recursively.
Key details:
- URL query parameters — The parent editor's URL query cache (
$getAllURLQueryCache) is forwarded to the widget editor, so widgets that rely on URL parameters (e.g.?ID=) work correctly as long as the parent template has the same path/query mapping configured. - Cache hit logic — A widget's
DataFetchingNodeskips fetching when its data key already exists in the restored parent cache. This prevents redundant server calls when both parent and widget reference the same data. - Collection element context — When a Widget Node is placed inside a
CollectionNode, the collection element's item data is extracted and stored in the widget cache after the parent cache is restored, so the correct per-item data takes precedence. - Variants — Variant values (
%variable.<name>) are stored in the widget cache under the key%variantafter all other cache restoration is complete.