Installation
The Editor installation process is the same as the Admin Dashboard, except for the CLI command used to initialize the project.
For prerequisites (WordPress database, Docker setup), see the Admin Dashboard installation prerequisites.
Initialize the Editor Project
Run the following command and follow the prompts:
npx @rnaga/wp-next-cli -- initEditor
Example setup:
npx @rnaga/wp-next-cli -- initEditor
✔ Enter your database hostname: · localhost
✔ Enter your database port: · 3306
✔ Enter your database username: · wp
✔ Enter your database password: · **
✔ Enter your database name: · wordpress
✔ Is it a multi-site? · No
✔ Enter your static assets path: · public
✔ Enter your Admin (Editor) URL: · http://localhost:3000
✔ Enter project path (What is your project named?): · my-app
The CLI initializes a Next.js project (App Router) and configures it for the WP Next Editor.
Preset Templates
After initialization, a set of preset templates is automatically created in the editor. These cover the most common page types:
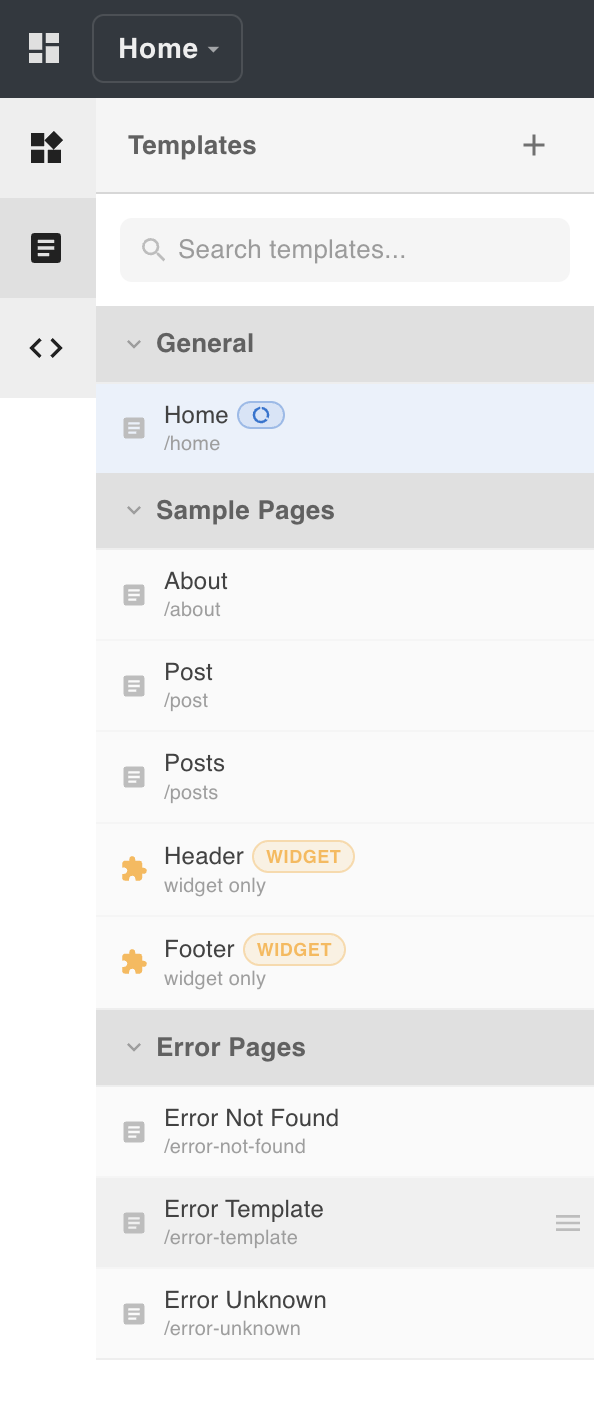
| Template | Purpose |
|---|---|
home | Default home page (reserved slug) |
about | About page |
post | Single post page |
posts | Posts listing page |
header | Reusable header widget |
footer | Reusable footer widget |
error-not-found | 404 not found error page (reserved slug) |
error-unknown | Fallback error page (reserved slug) |
error-template | Template-level error boundary (reserved slug) |
See Error & Home Pages for details on reserved slugs.
Run and Build
To start the editor in development mode:
npm run dev
To build and start in production mode:
npm run build
npm run start
For production deployment details, see the Next.js deployment guide.
Local URLs
When running locally, the following URLs are available:
| URL | Purpose |
|---|---|
http://localhost:3000/admin | Admin dashboard |
http://localhost:3000/admin/editor | Visual editor (single site) |
http://localhost:3000/admin/1/editor | Visual editor (multi-site, where 1 is the default site ID, which is currently supported by the editor) |