Getting Started
This guide walks you through creating your first template and publishing it as a public page.
Prerequisites
Before creating templates, make sure the following conditions are met:
User role — You must have Administrator, Super Admin (multisite), or Editor role access in WordPress.
Multisite support — WP Next Editor supports single-site mode and the default site in a multisite installation. Sub-sites in a multisite network are not supported. The default site is typically wp_blogs.id = 1 / wp_site.id = 1, unless you have changed the defaults in your _wp/config/wp.json:
{
  "staticAssetsPath": "public",
  "multisite": {
    "enabled": true,
    "defaultBlogId": 1,
    "defaultSiteId": 1
  }
}
Installation
Follow the Installation guide to initialize WP Next Editor. Once installed, the following preset templates are created automatically:
| Template | Description |
|---|---|
home | Default home page |
about | About page |
post | Single post page |
posts | Posts listing page |
header | Reusable header widget |
footer | Reusable footer widget |
error-not-found | 404 not found error page |
error-unknown | Fallback error page |
error-template | Template-level error boundary |
To create your own templates, continue with the steps below.
Create a Template
-
Open the Templates tab in the left nav.
-
Click the plus icon to open the new template form.
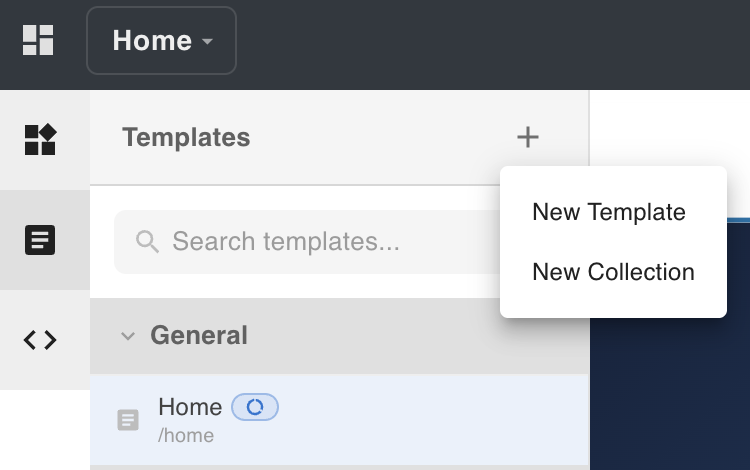
-
Fill out the form:
- Template name — displayed in the editor left nav for organization purposes; this does not affect the URL.
- Slug — used in the public URL:
http://[domain]/[slug]. If left blank, a slug is generated automatically from the template name. The slug can be changed at any time in Template Settings. - Collection — the collection to place the template in. Collections let you group related templates in the left nav. See Canvas for how to manage collections (create, rename, delete).
-
After creating the template, it appears in the left nav.
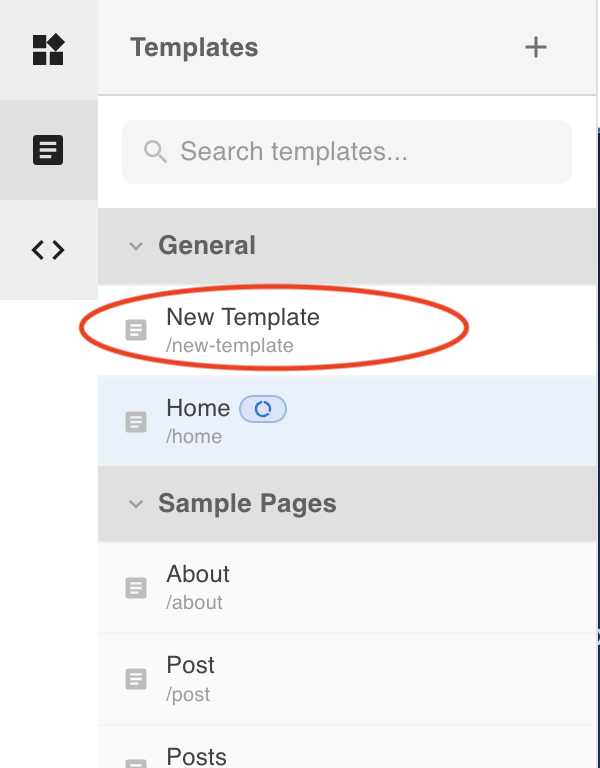
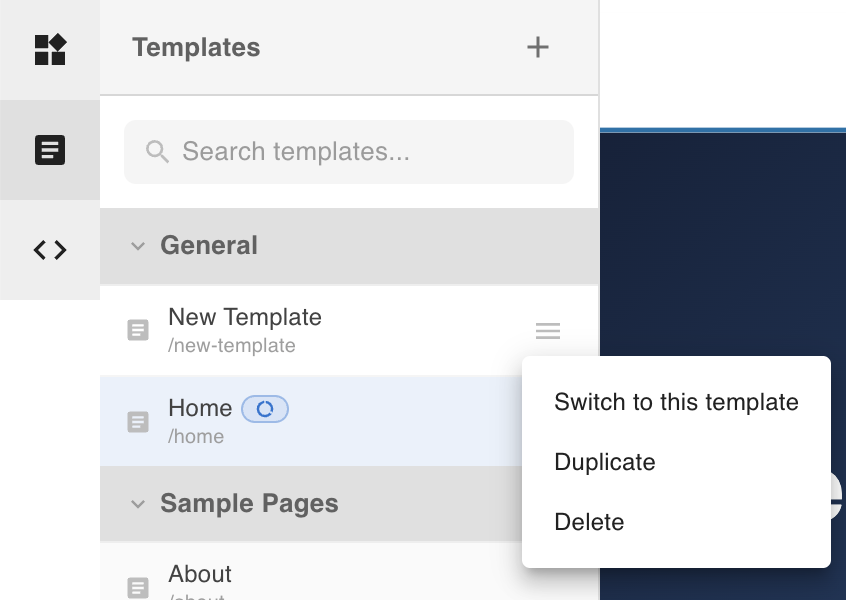
-
Click the menu icon on the template item and select Switch to this template to open it in the canvas.
Build the Template
With the template open, add and configure nodes using the canvas tools:
- Add nodes — open the Element tab in the left nav and drag elements onto the canvas.
- Style nodes — select a node, then adjust CSS properties in the Styles tab of the right nav. See Styles for details on per-device breakpoints and CSS states (e.g. hover).
- Configure node settings — select a node and open its Settings tab. Most nodes support:
- Attributes — add arbitrary HTML attributes to the rendered element. See Wrapper Node for details.
- Dynamic Attributes — bind attribute values to WordPress data. See Working with Dynamic Data for details.
- Template Text content — for TemplateText nodes, the Settings tab provides a rich-text editor and supports
${}dynamic value expressions and pipe functions. See Template Text Node for syntax and examples.
- Adjust animations — use the Animation tab in the right nav. See Animations for managing keyframes and attaching animations.
The wp-next-editor-template agent skill lets you create, update, and scaffold templates using natural-language prompts in Claude Code. Templates are stored as Lexical JSON — AI agents can read and write them directly, making it possible to build in seconds what would otherwise take hours manually.
See Using AI for installation and usage.
You can also learn more about Claude Code agent skills at:
Publish the Template
To make a template available at its public URL, two actions are required:
- Publish — click the Publish button in the header toolbar. This saves the template content to the database.
- Make Visible — click the Visible icon in the header toolbar. This makes the template publicly visible.
Both must be set for the page to be publicly accessible.
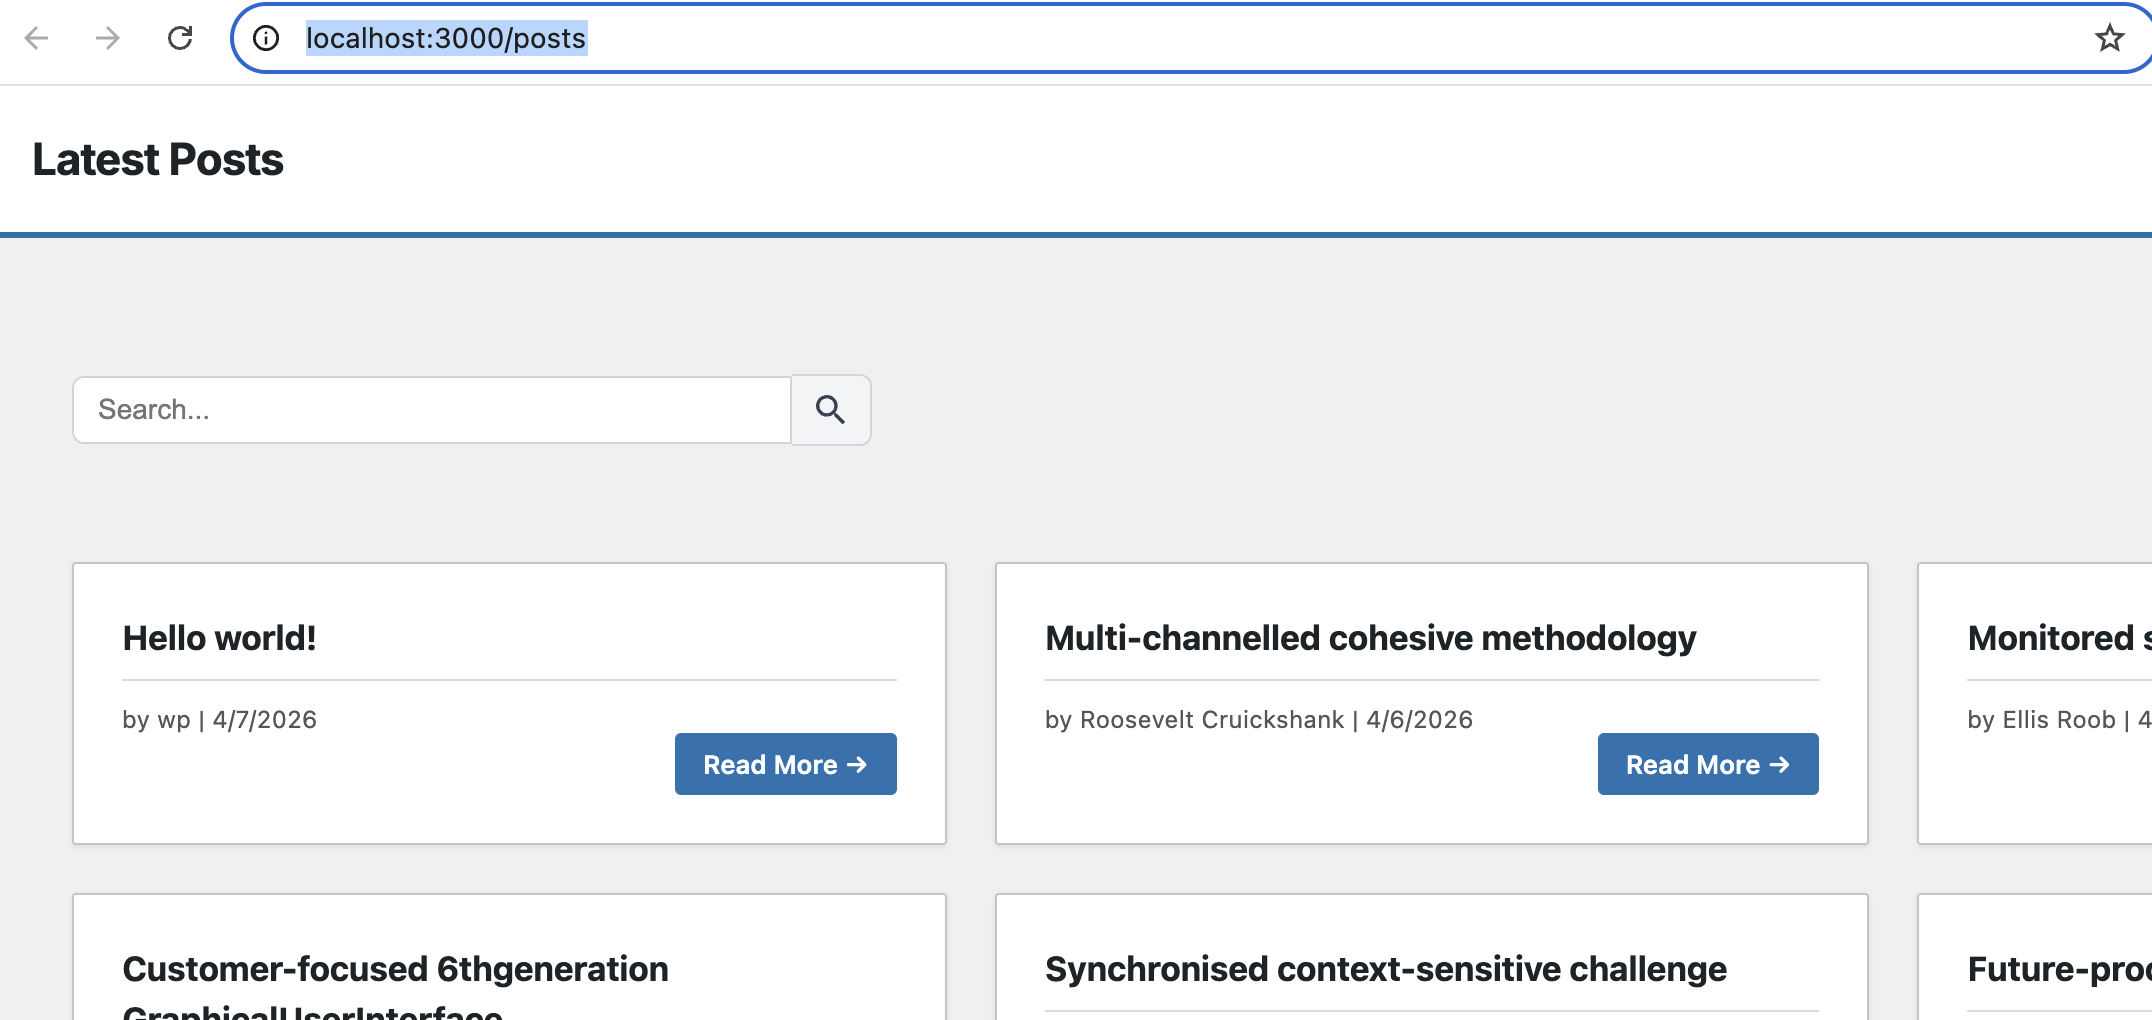
View the Page
Once published and visible, the page is accessible at:
http(s)://[your-domain]/[slug]
where [slug] is the slug you set when creating the template. The slug can be changed at any time in Template Settings.