Custom Code
Custom Code lets you inject HTML, CSS, or JavaScript into a template's <head> or just before the closing </body> tag. Use it to load external frameworks (Tailwind, GTAG, analytics scripts, icon libraries), add global styles, or include any inline script the page needs.
Three code types are supported:
- HTML — arbitrary HTML markup
- CSS — injected inside a
<style>tag - JavaScript — injected inside a
<script>tag
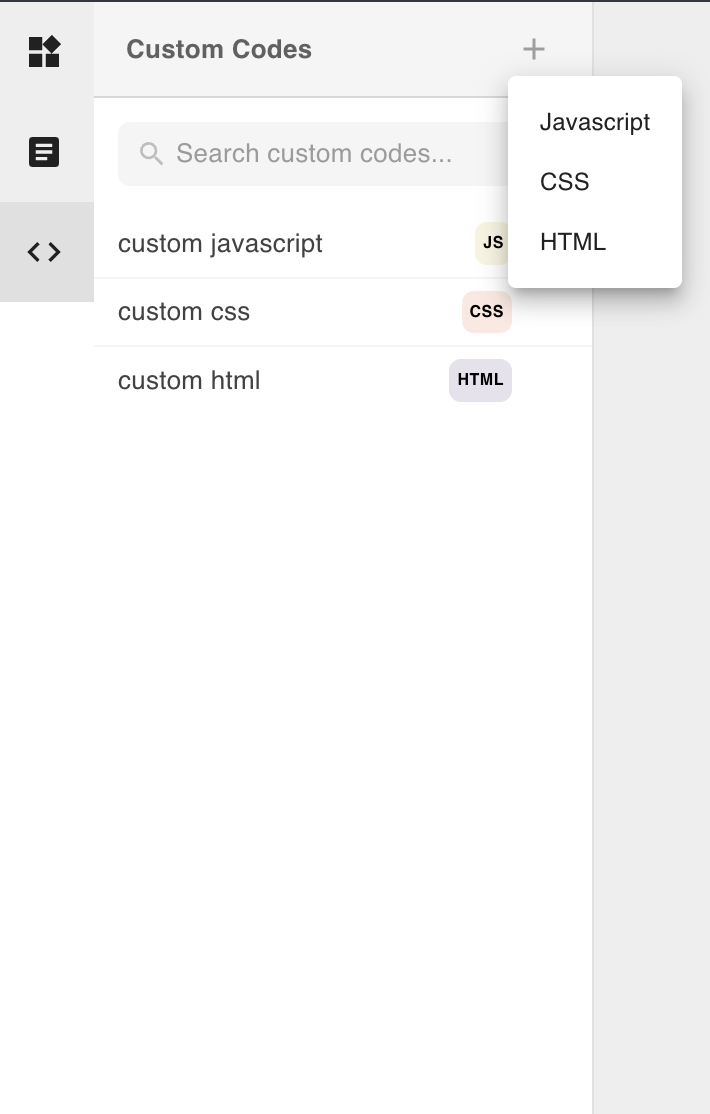
Step 1 — Create a Custom Code entry
In the left nav, click the Custom Code icon (< >), then click the + icon in the top-right corner and select the language type (HTML, CSS, or JavaScript).
Fill in:
- Name — a label for this entry (used when adding it to a template)
- Code Editor — paste or write your code here

Click Save to create the entry. Custom code entries are shared across all templates in the editor — you create them once and register them per template as needed.
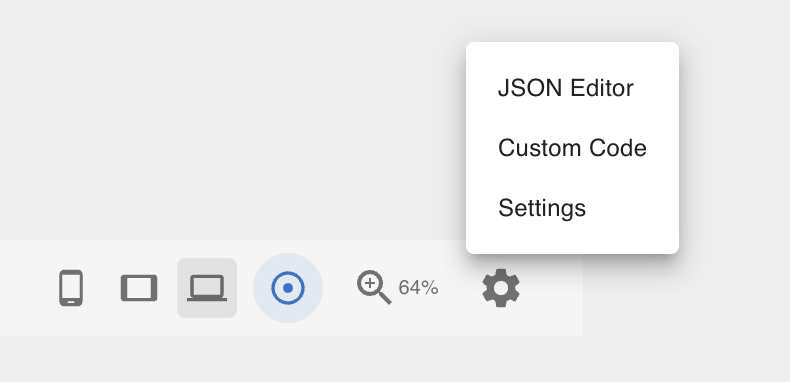
Step 2 — Register Custom Code in a template
Custom code entries must be explicitly registered with each template before they are injected. Open the Settings modal via the gear icon in the Footer Toolbar and select Custom Code.
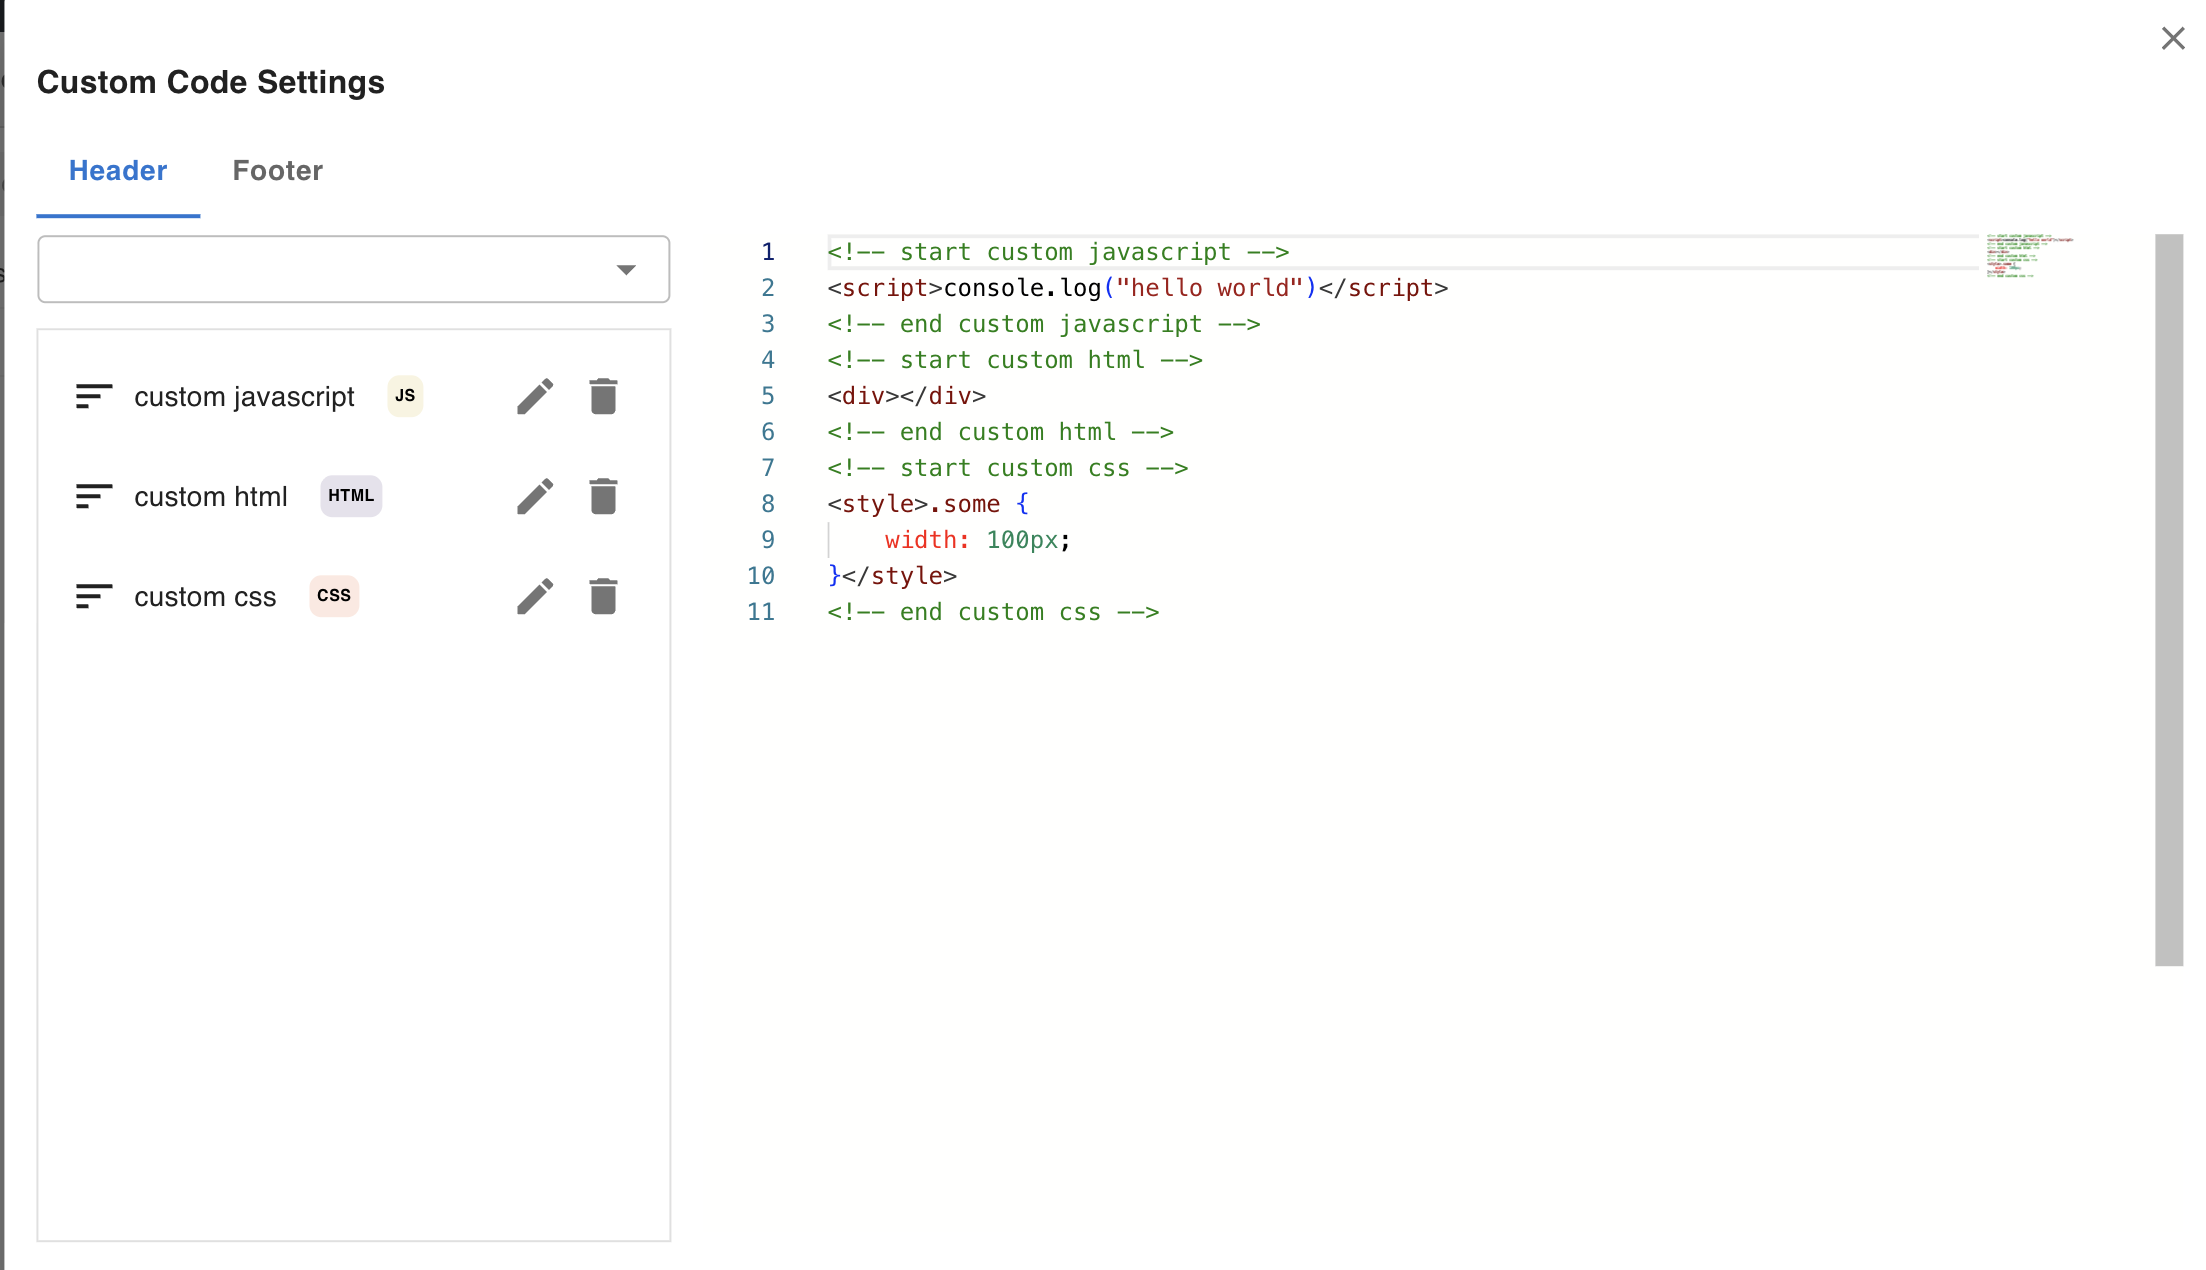
In the modal, select either the Header or Footer tab depending on where you want the code injected:
- Header — injected inside
<head>(use for stylesheets, fonts, meta tags) - Footer — injected just before
</body>(use for scripts that must load after the DOM)
Use the dropdown in the top-left to select a custom code entry. Once selected, it is added to the list and its raw code appears in the Code Editor section below.
Notes
- To edit a registered entry, click its name in the list — a separate edit modal opens.
- To remove an entry from the template, click the trash icon next to it.
- To reorder entries, drag an item up or down by holding the mouse button on it and moving it. Injection order follows the list order.
See Using Tailwind for an example of using Custom Code to load Tailwind CSS Play CDN into a template.